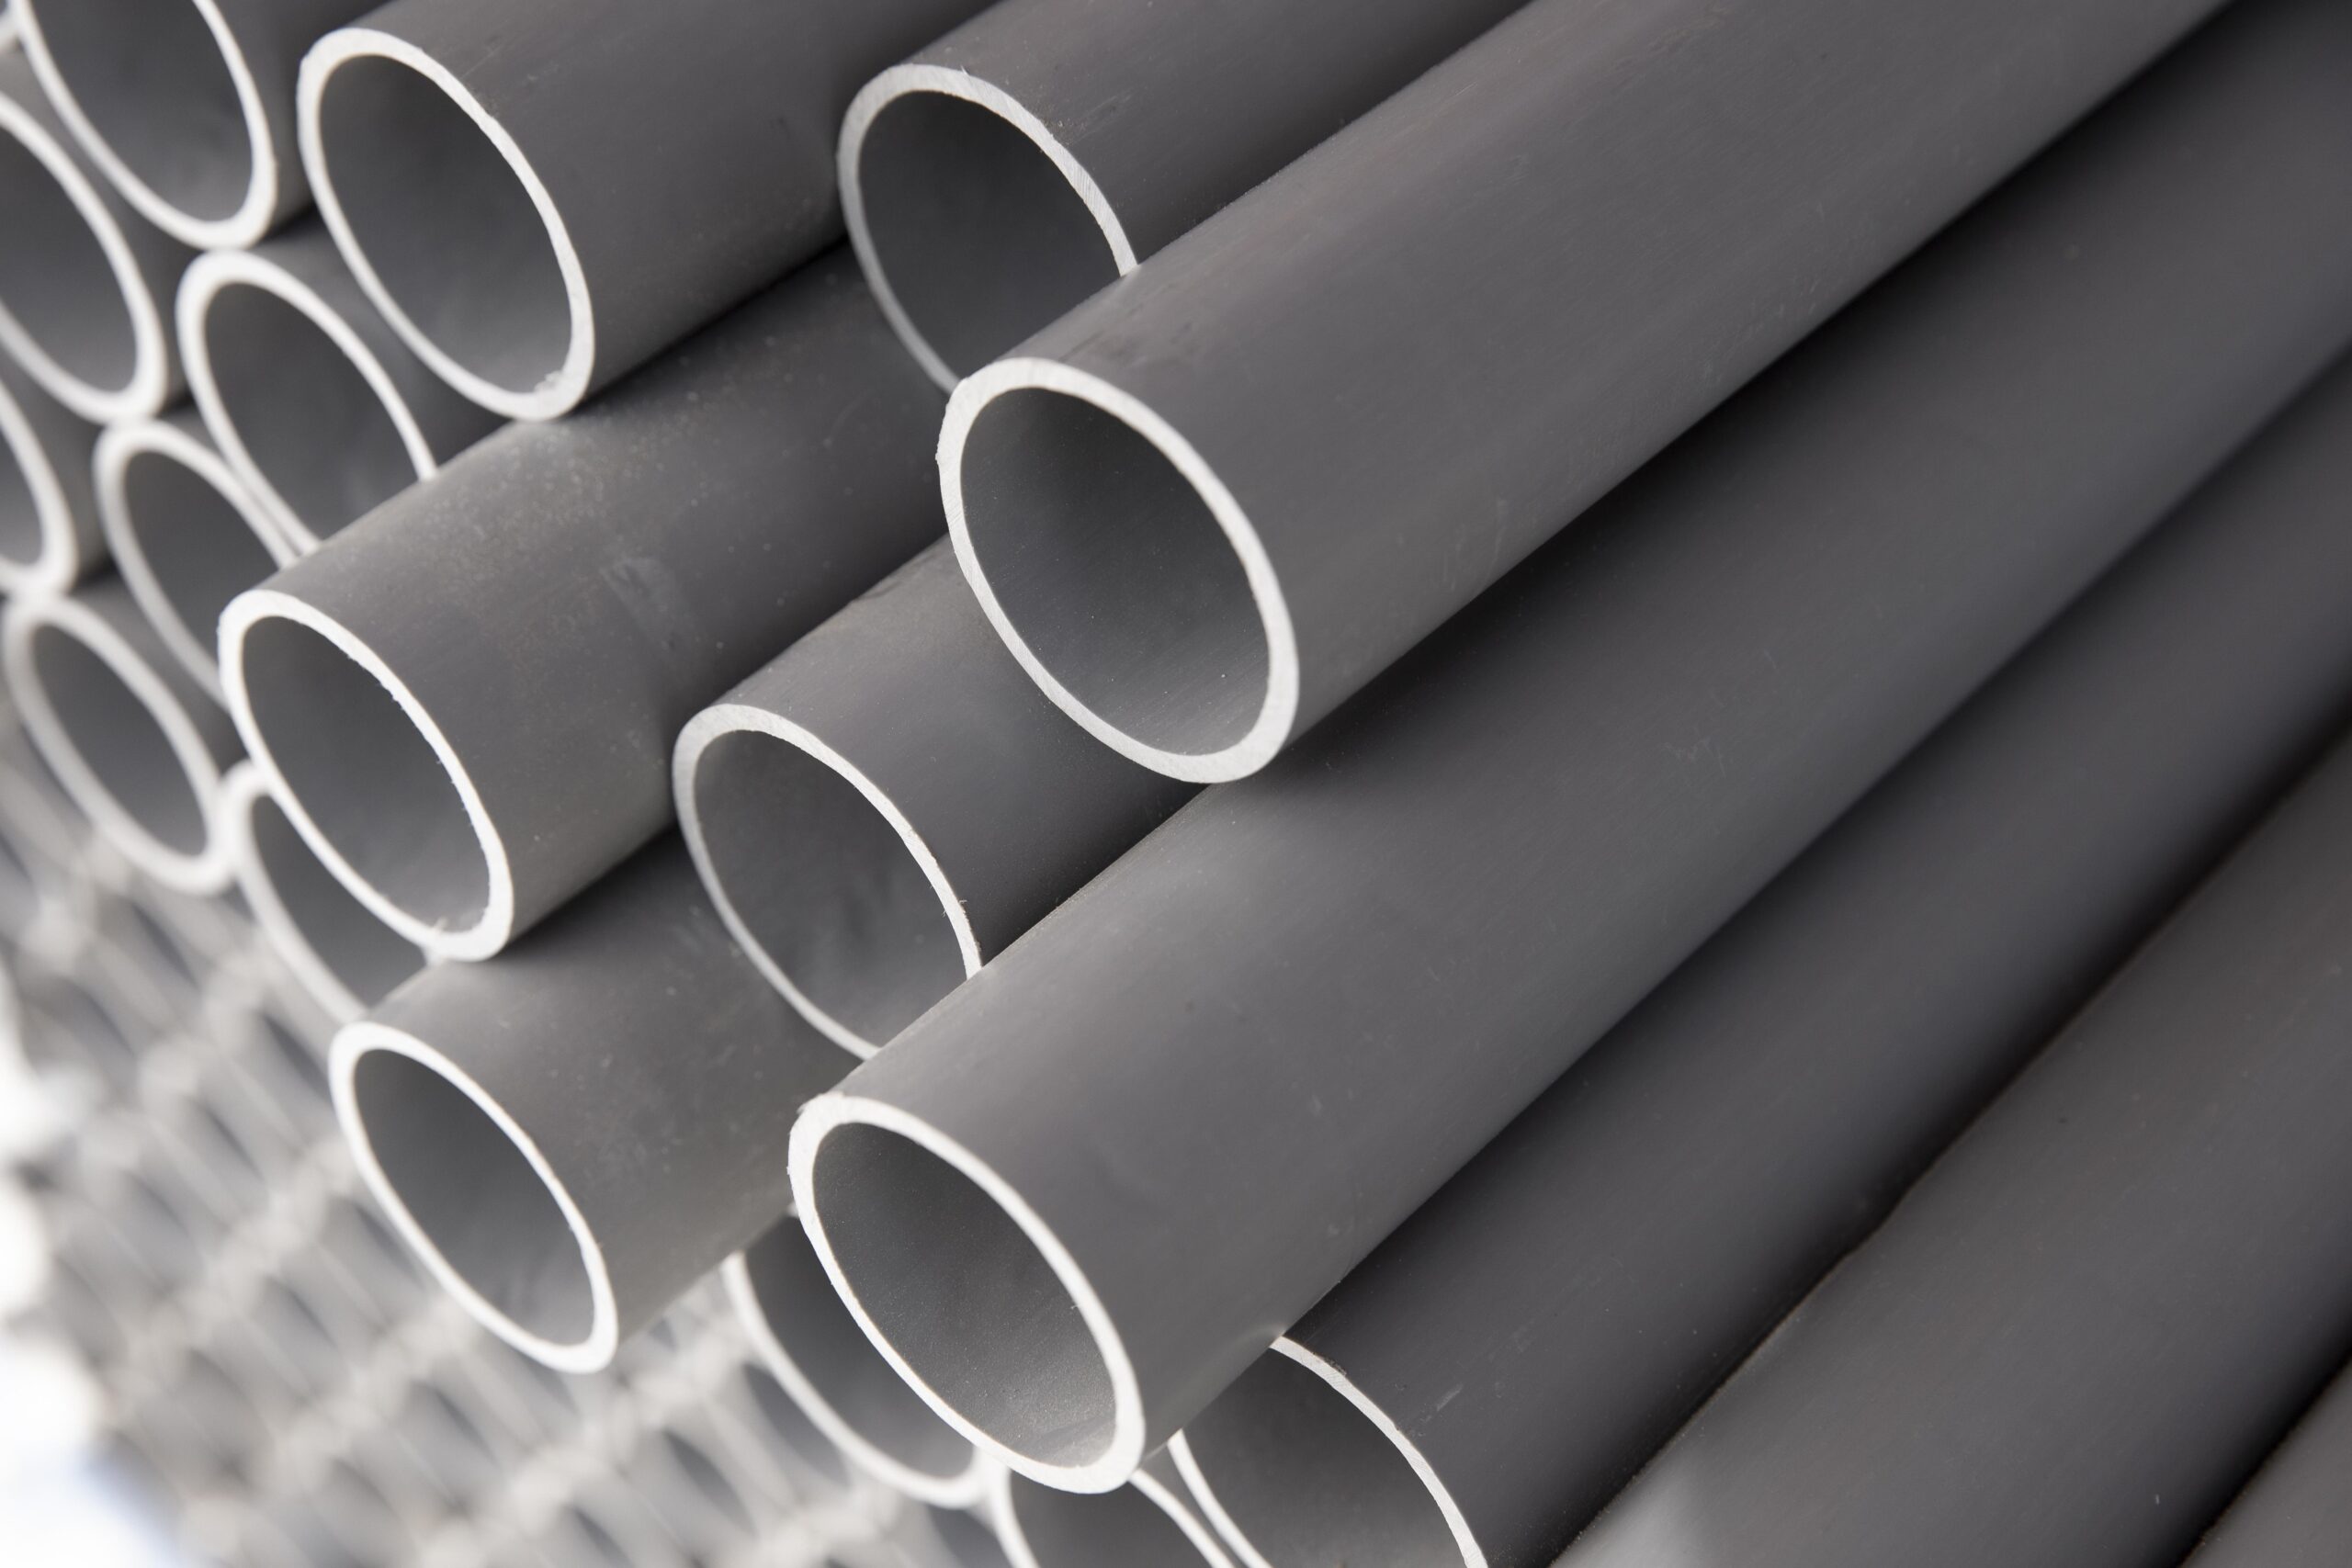
Install HDPE pipeline is an easy process that can be completed by anyone with basic plumbing skills. Moreover, there are so many advantages of HDPE pipeline system.
The first step is to gather together all the materials you need, then cut and assemble the pipes into their final shape. Finally, attach fittings to make joints between pipes and other pieces of equipment.
Read on for more information about how to install HDPE pipeline!
The HDPE manufacturers also know how to install HDPE pipelines. But in this guide, we’ll let you know.
What is HDPE?
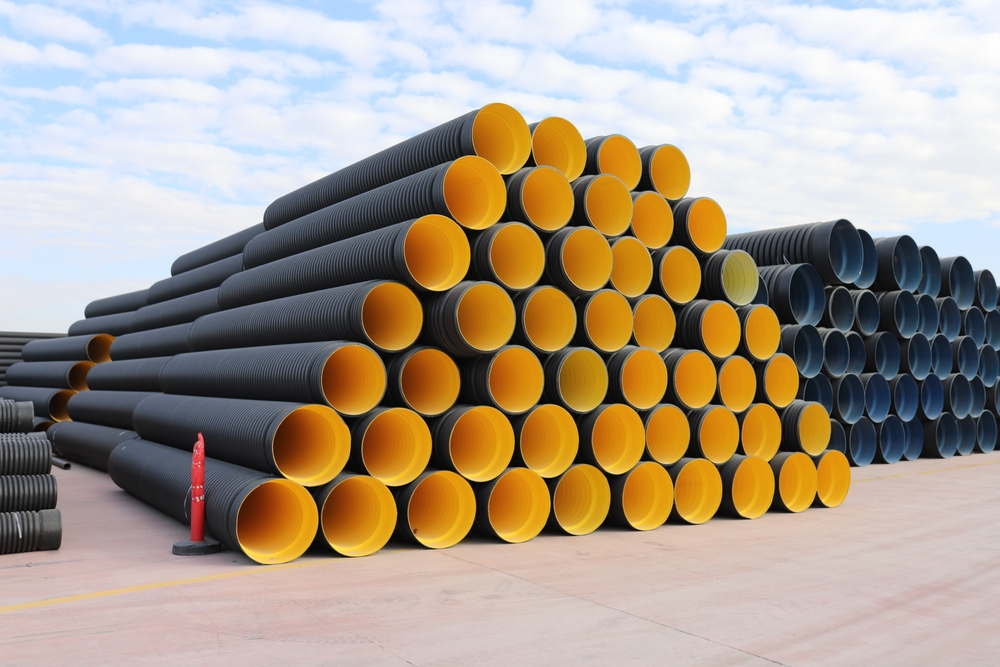
HDPE is a type of plastic, like PVC, but with a higher melting point. It stands for high-density polyethylene, and it’s often used in water pipes because it’s strong and resists corrosion.
You might be familiar with PVC piping as well—it has some advantages over HDPE, but is also more expensive. Where you live will help you decide which one to install for your home: if your area is prone to freezing temperatures (or even just cold weather), then you’ll probably want to go with HDPE, since the material can withstand freezing better than PVC.
If you’re planning on using your new plumbing system for hot water or steamy baths and showers, then it makes sense to opt for PVC instead, since this kind of pipe won’t burst under pressure from hot water.
Even though both materials are safe when installed correctly, most professionals recommend installing PVC over HDPE because of its resistance against chemicals found in household cleaners such as bleach or laundry detergent (which may cause damage over time).
Quick Steps To Install HDPE Pipeline
Following are some easy steps to install the HDPE pipeline:
Gather Together The Needed Pipe, Fittings, And Valves
For this project, you will need to gather together the following supplies:
Pipe and fittings. The amount of pipe and fittings that you need depends on the length of your pipeline; it is recommended that you purchase 10 extra feet in case there’s a mistake during installation or if one part breaks.
The best way to figure out the amount of pipe and fittings is by measuring your yard (or wherever it is that you’re installing) with a measuring tape and multiplying that number by 1/2 inch (or whatever size pipe diameter).
Valves. You’ll need 1 valve per every 1000 feet (or about 3 meters) of the pipeline.
Place A Clamp At Each End Of The Pipe
To begin, you must place a clamp on the pipe before joining the two pieces of pipe.
You will also have to place clamps on your pipes before attaching fittings to them.
Lastly, you need to place a sufficient number of clamps on your pipes so that they can support the weight of water or other liquids in them.
Cut The Pipe Using A Cutter Or Saw
The most efficient way to cut the pipe is with a pipe cutter. However, if you don’t have one and don’t want to purchase one right now, there are other ways. Using a hacksaw works well if you want to cut the pipe into small pieces.
If you want to use your reciprocating saw, make sure that it can handle cutting through HDPE plastic pipes. A band saw can also be used but may require more time than other methods because of its slower speed and smaller blade size—but it will get the job done!
Likewise with a belt sander: It’s an option if all else fails but takes longer than other options because HDPE doesn’t melt under heat like metal does (like aluminum).
Inspect The Edges
Here’s how to do a pipeline inspection:
- You will be able to see these if you shine a light on them.
- If there are any defects, remove them now before continuing.
- Apply a generous amount of high-temperature silicone adhesive to both the inside and outside the pipe.
Bevel The Edges With A Reamer
The next step is to bevel both ends of the pipeline. This will ensure that there are no sharp edges, which can lead to leaks. Use a reamer, and remove any burrs from the end of the pipe. Beveling is an important step in installing HDPE pipelines because it improves water flow, making it easier for your system to function properly.
Next, you’ll want to cut the pipe down to size. Measure the length of your line and use a hacksaw or reciprocating saw to cut it down. You can also use an electric saw for this step.
Use A Fitting To Join The Two Pipes
- Join your pipes with a fitting.
- Secure the fitting with clamps.
- Use a reamer to remove any burrs from around the joints, if necessary.
- Inspect for the evenness of your joint connections and make adjustments as necessary before proceeding to the next step in your installation process.
Make Sure That The Joint Is Even By Placing A Straight Edge Across It
- If the joint is not even, use a reamer to make it even.
- Use a metal file to file down the edges of where you cut it off until they are smooth and flat.
- Place the pipe into your vice and bend it over until it touches itself on both sides of where you cut it off (This will be very close to 90 degrees).
Attach A Clamp To Each Side Of The Fitting
To attach the clamps, use a screwdriver to tighten them down. Make sure they are secure and there is no wiggle room in any of the fittings.
Also, check that your joints are straight by holding them up against a level surface and checking for straightness. If any of your joints do not look straight, you can use a reamer or a pipe cutter to trim off some of the protruding material from either end of the joint until it fits correctly into place with another fitting.
Is it Easy To Install HDPE Pipeline?
- Installing HDPE (high-density polyethylene) pipeline is easier than you think!
- HDPE pipe is extremely durable and can withstand the elements.
- It is easy to install, and it’s flexible enough to be used in many applications.
- The high-density polyethylene pipe is strong enough to withstand high pressures, which means that you won’t have any problems with leaks or burst pipes if your water pressure rises over time.
- This makes it perfect for installing underground plumbing systems in your yard or garden without worrying about leaks!
Conclusion
The installation of an HDPE pipeline is not difficult, but it does require some care and attention. If you take the time to follow these simple steps and use the proper tools, you can be sure your project will be a success.

