Wandering about “How to inspect welding joints?”, Let’s explore together!
The stability of welding joints is one of the most important parts of the complex network of pipes that runs through our modern world. These joints are the key to reliability because they ensure that important fluids and gases can move safely from one place to another. Perhaps, a well-built and carefully checked welding joint is the backbone of any pipeline system, whether used to move water, oil, or gas.
We know that welding joint checking is the most important thing for keeping line pipe systems healthy and long-lasting. Since we are experts, we know that the safety and performance of these systems depend on how well the pipes are welded together.
In this easy-to-follow guide, we’ll break down the process so that whether you’re a seasoned pro or just starting, you can ensure your welding joints are up to the task.
Understanding Welding Joints
Before examining welding joints, it’s vital to understand the different types, the most common techniques to weld, and what affects joint quality.
Different Types of Welding Joints
Butt Joint: This is one of the most common welding joints, where we join two pieces of metal end-to-end. Butt joints can be square, beveled, or U-shaped, depending on the welding requirements.
Fillet Joint: Secondly, here comes the Fillet joint. Fillet joints occur when two metal pieces are joined together at an angle, creating a triangular cross-section. However, you can use these frequently for their strength and ease of welding.
Lap Joint: One metal piece overlaps the other in a lap joint. We often use this type of joint when the length of the workpieces needs to be increased or when a flush surface is essential.
Common Welding Methods
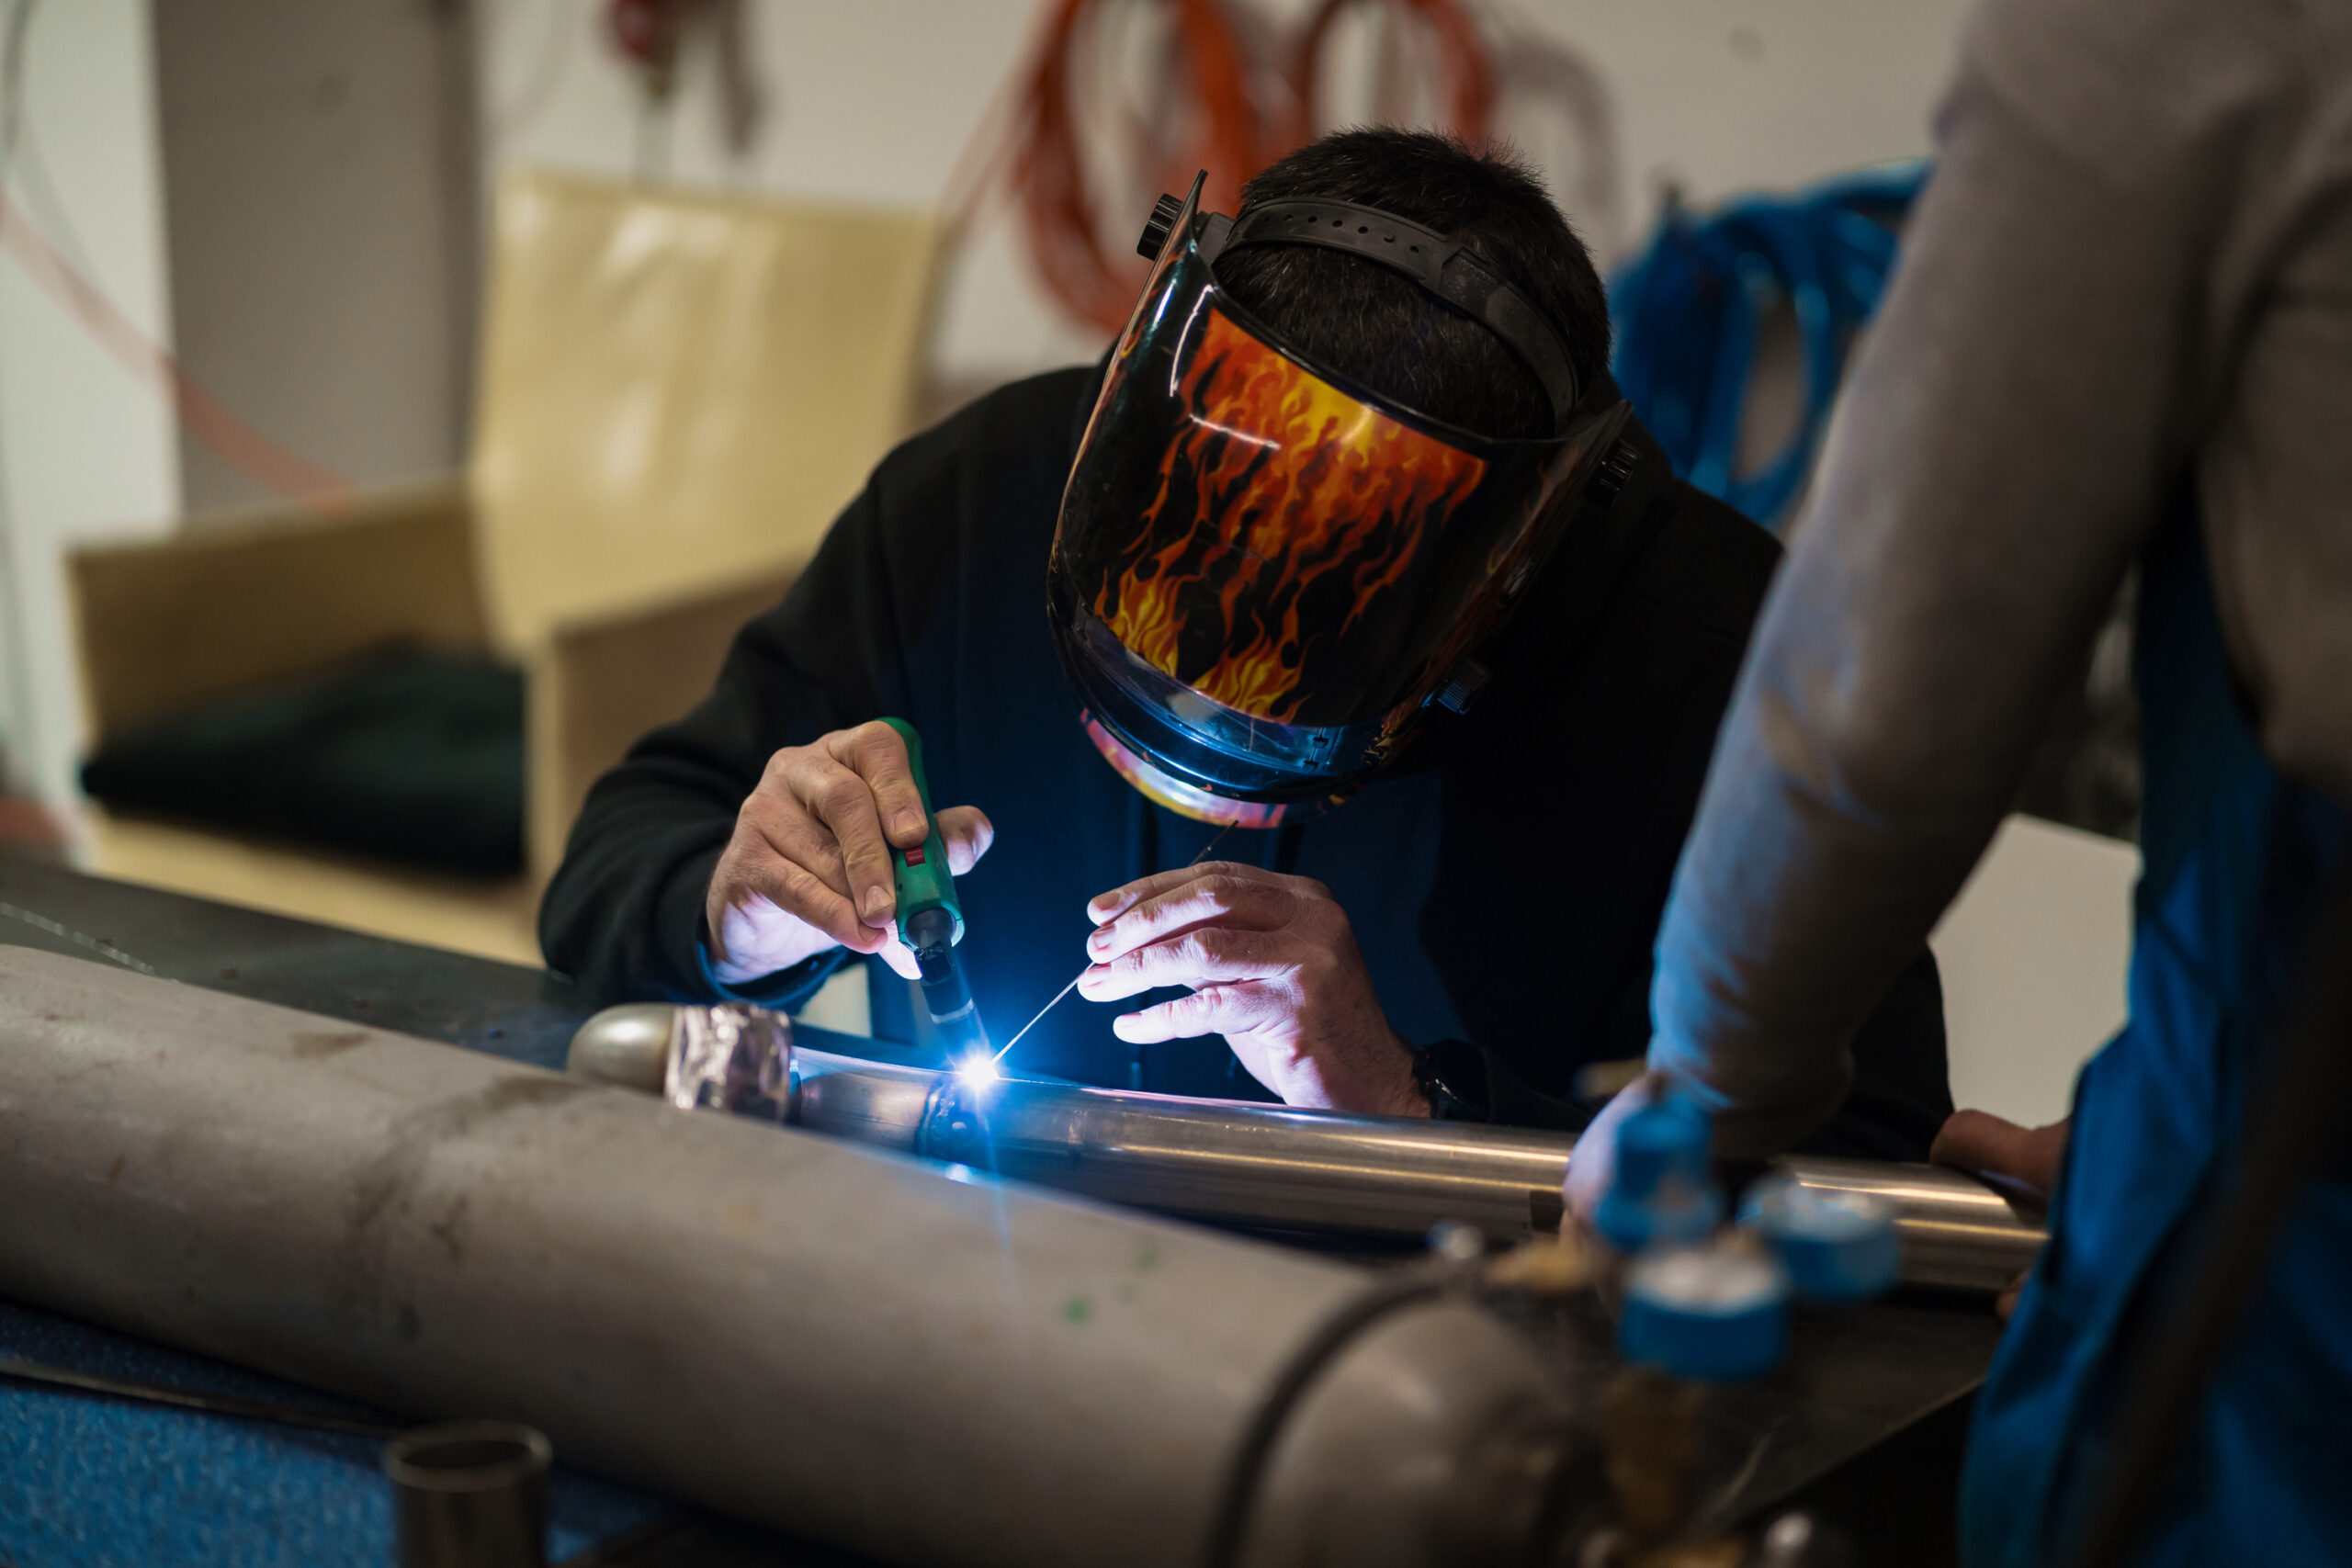
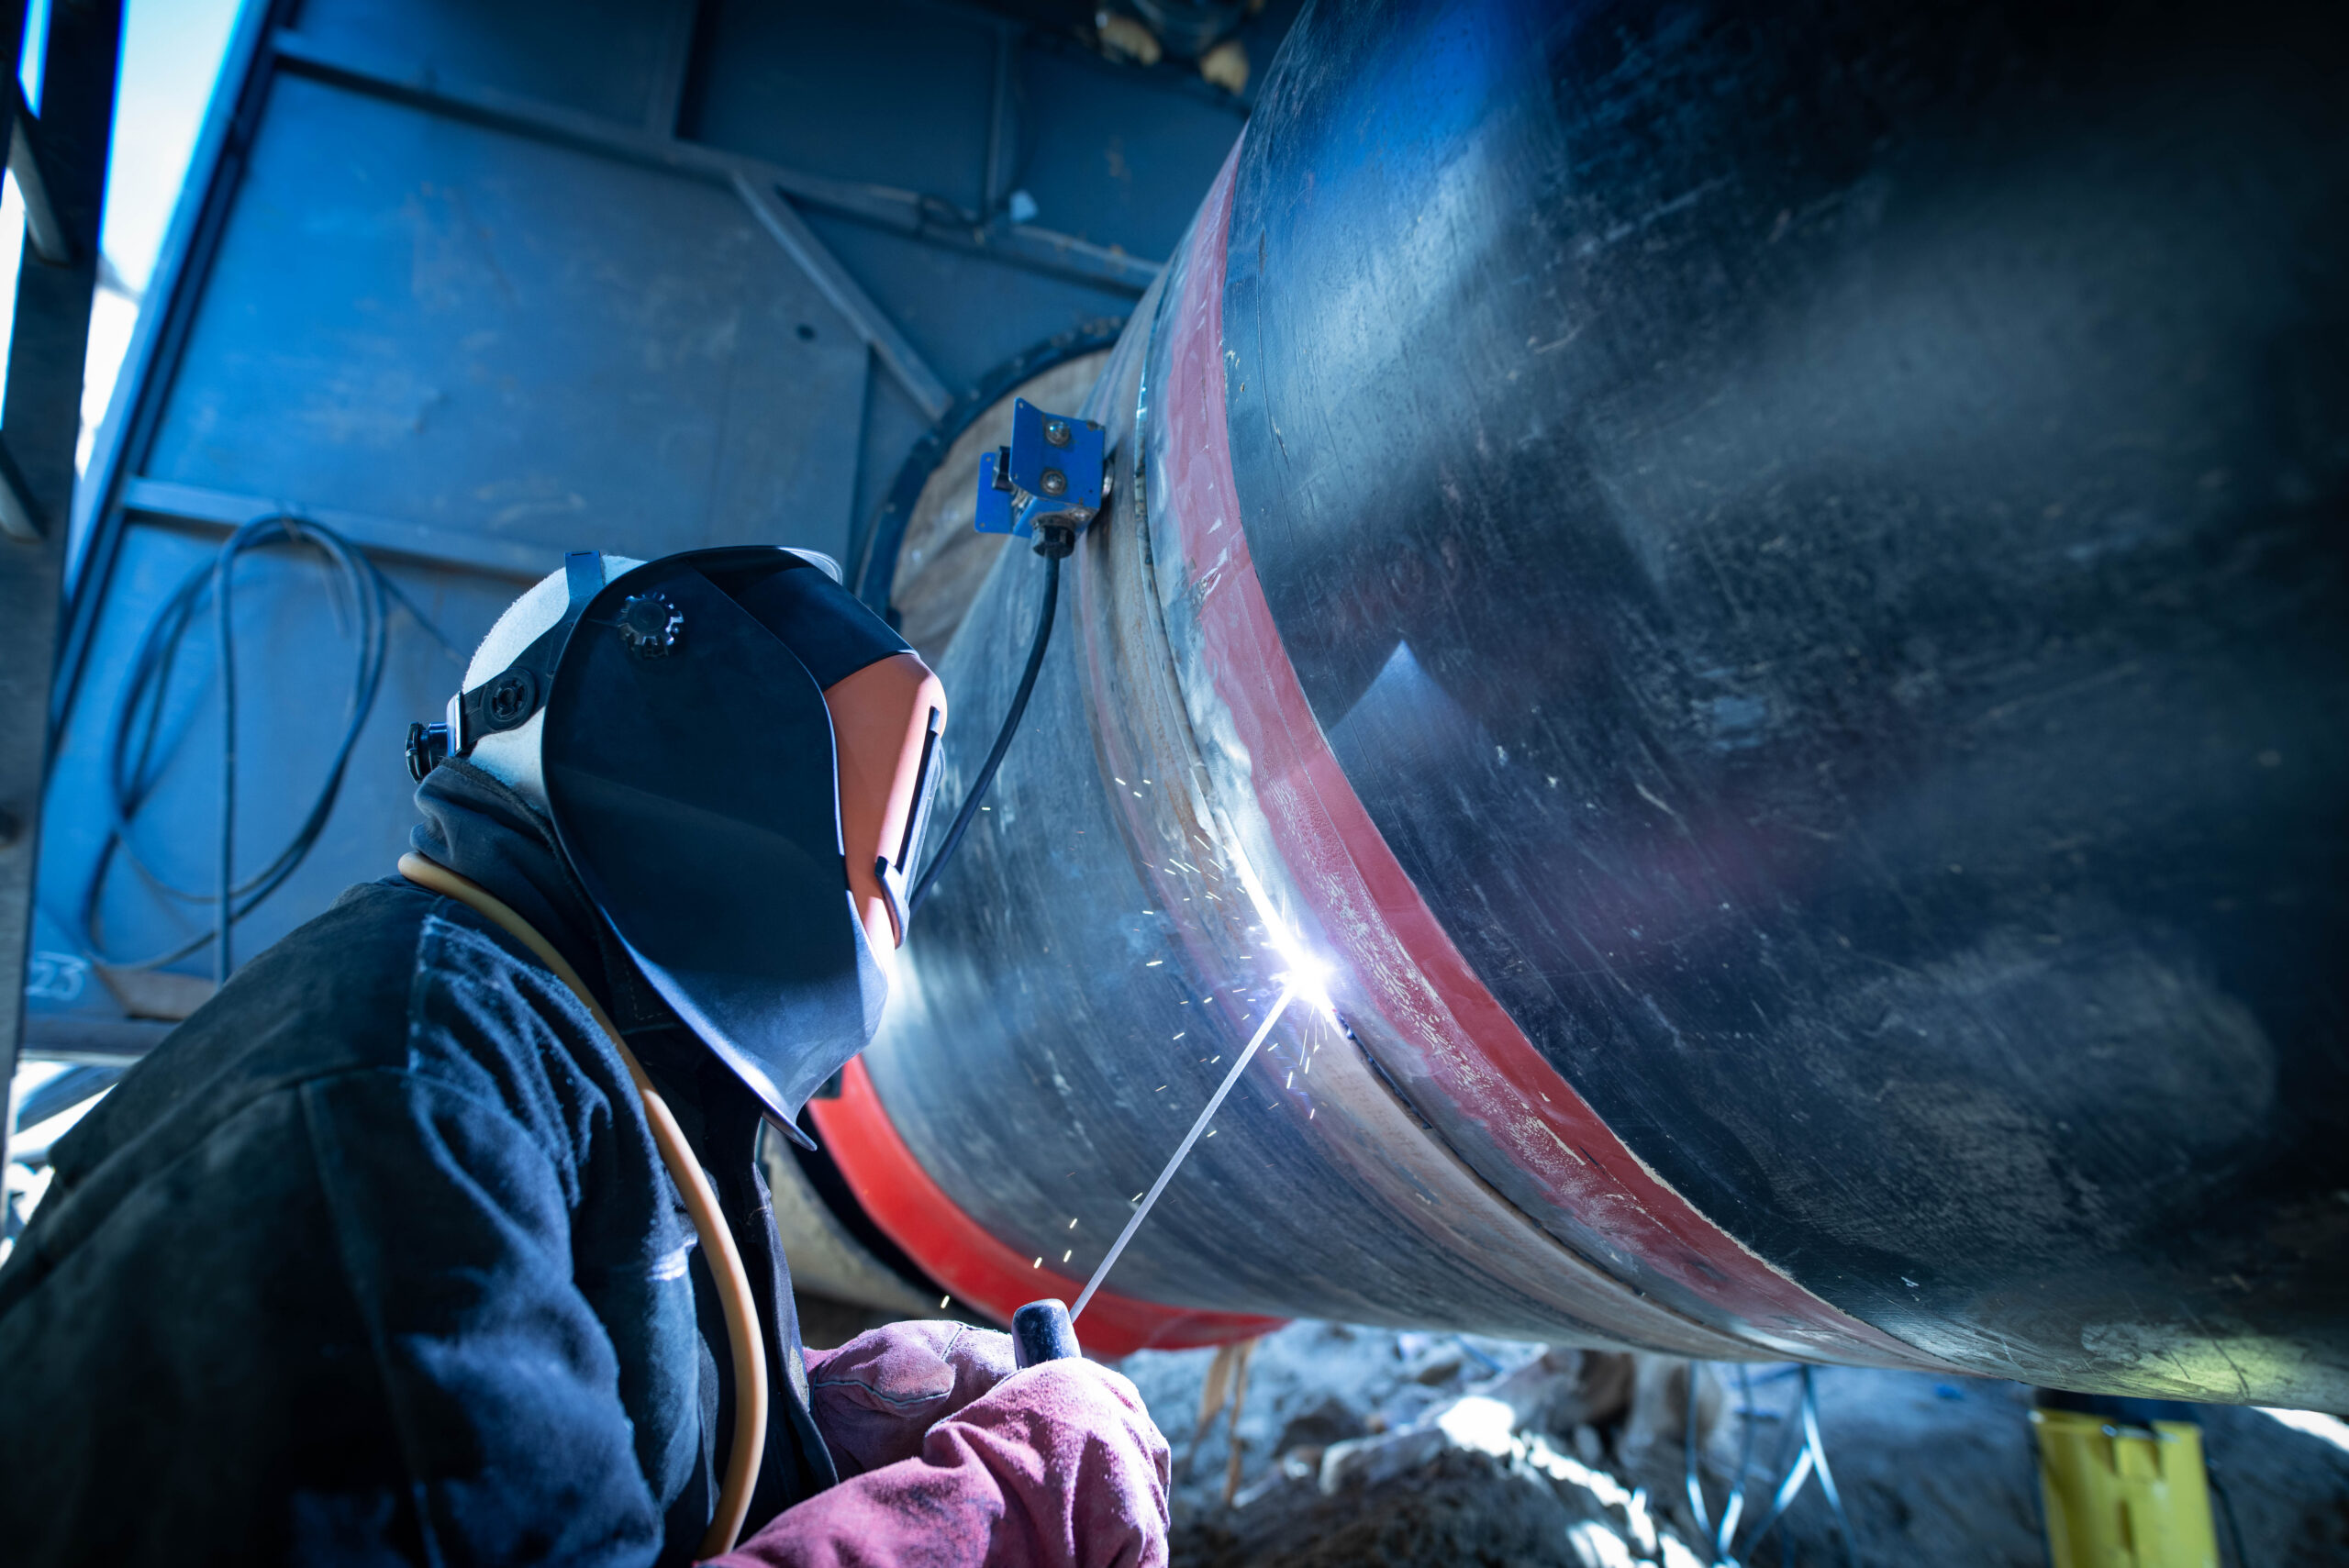
MIG Welding (Metal Inert Gas): MIG welding uses a wire electrode and a shielding gas to join metals. It is because of its versatility and ease of use, making it suitable for various materials.
TIG Welding (Tungsten Inert Gas): TIG welding employs a non-consumable tungsten electrode and inert gas shielding. Additionally, it produces precision, high-quality welds, making it ideal for critical applications.
Stick Welding (Shielded Metal Arc Welding – SMAW): Stick welding is a manual process using a consumable electrode coated with flux. Furthermore, it is versatile, cost-effective, and best to use in various positions and environments.
Flux-Cored Arc Welding (FCAW): FCAW is similar to MIG welding but uses a tubular electrode filled with flux. Moreover, it offers high deposition rates and is ideal for heavy-duty welding.
Step By Step Process For Inspecting Welding Joints
Let’s see how to inspect welding joints in the following step-by-step procedure:
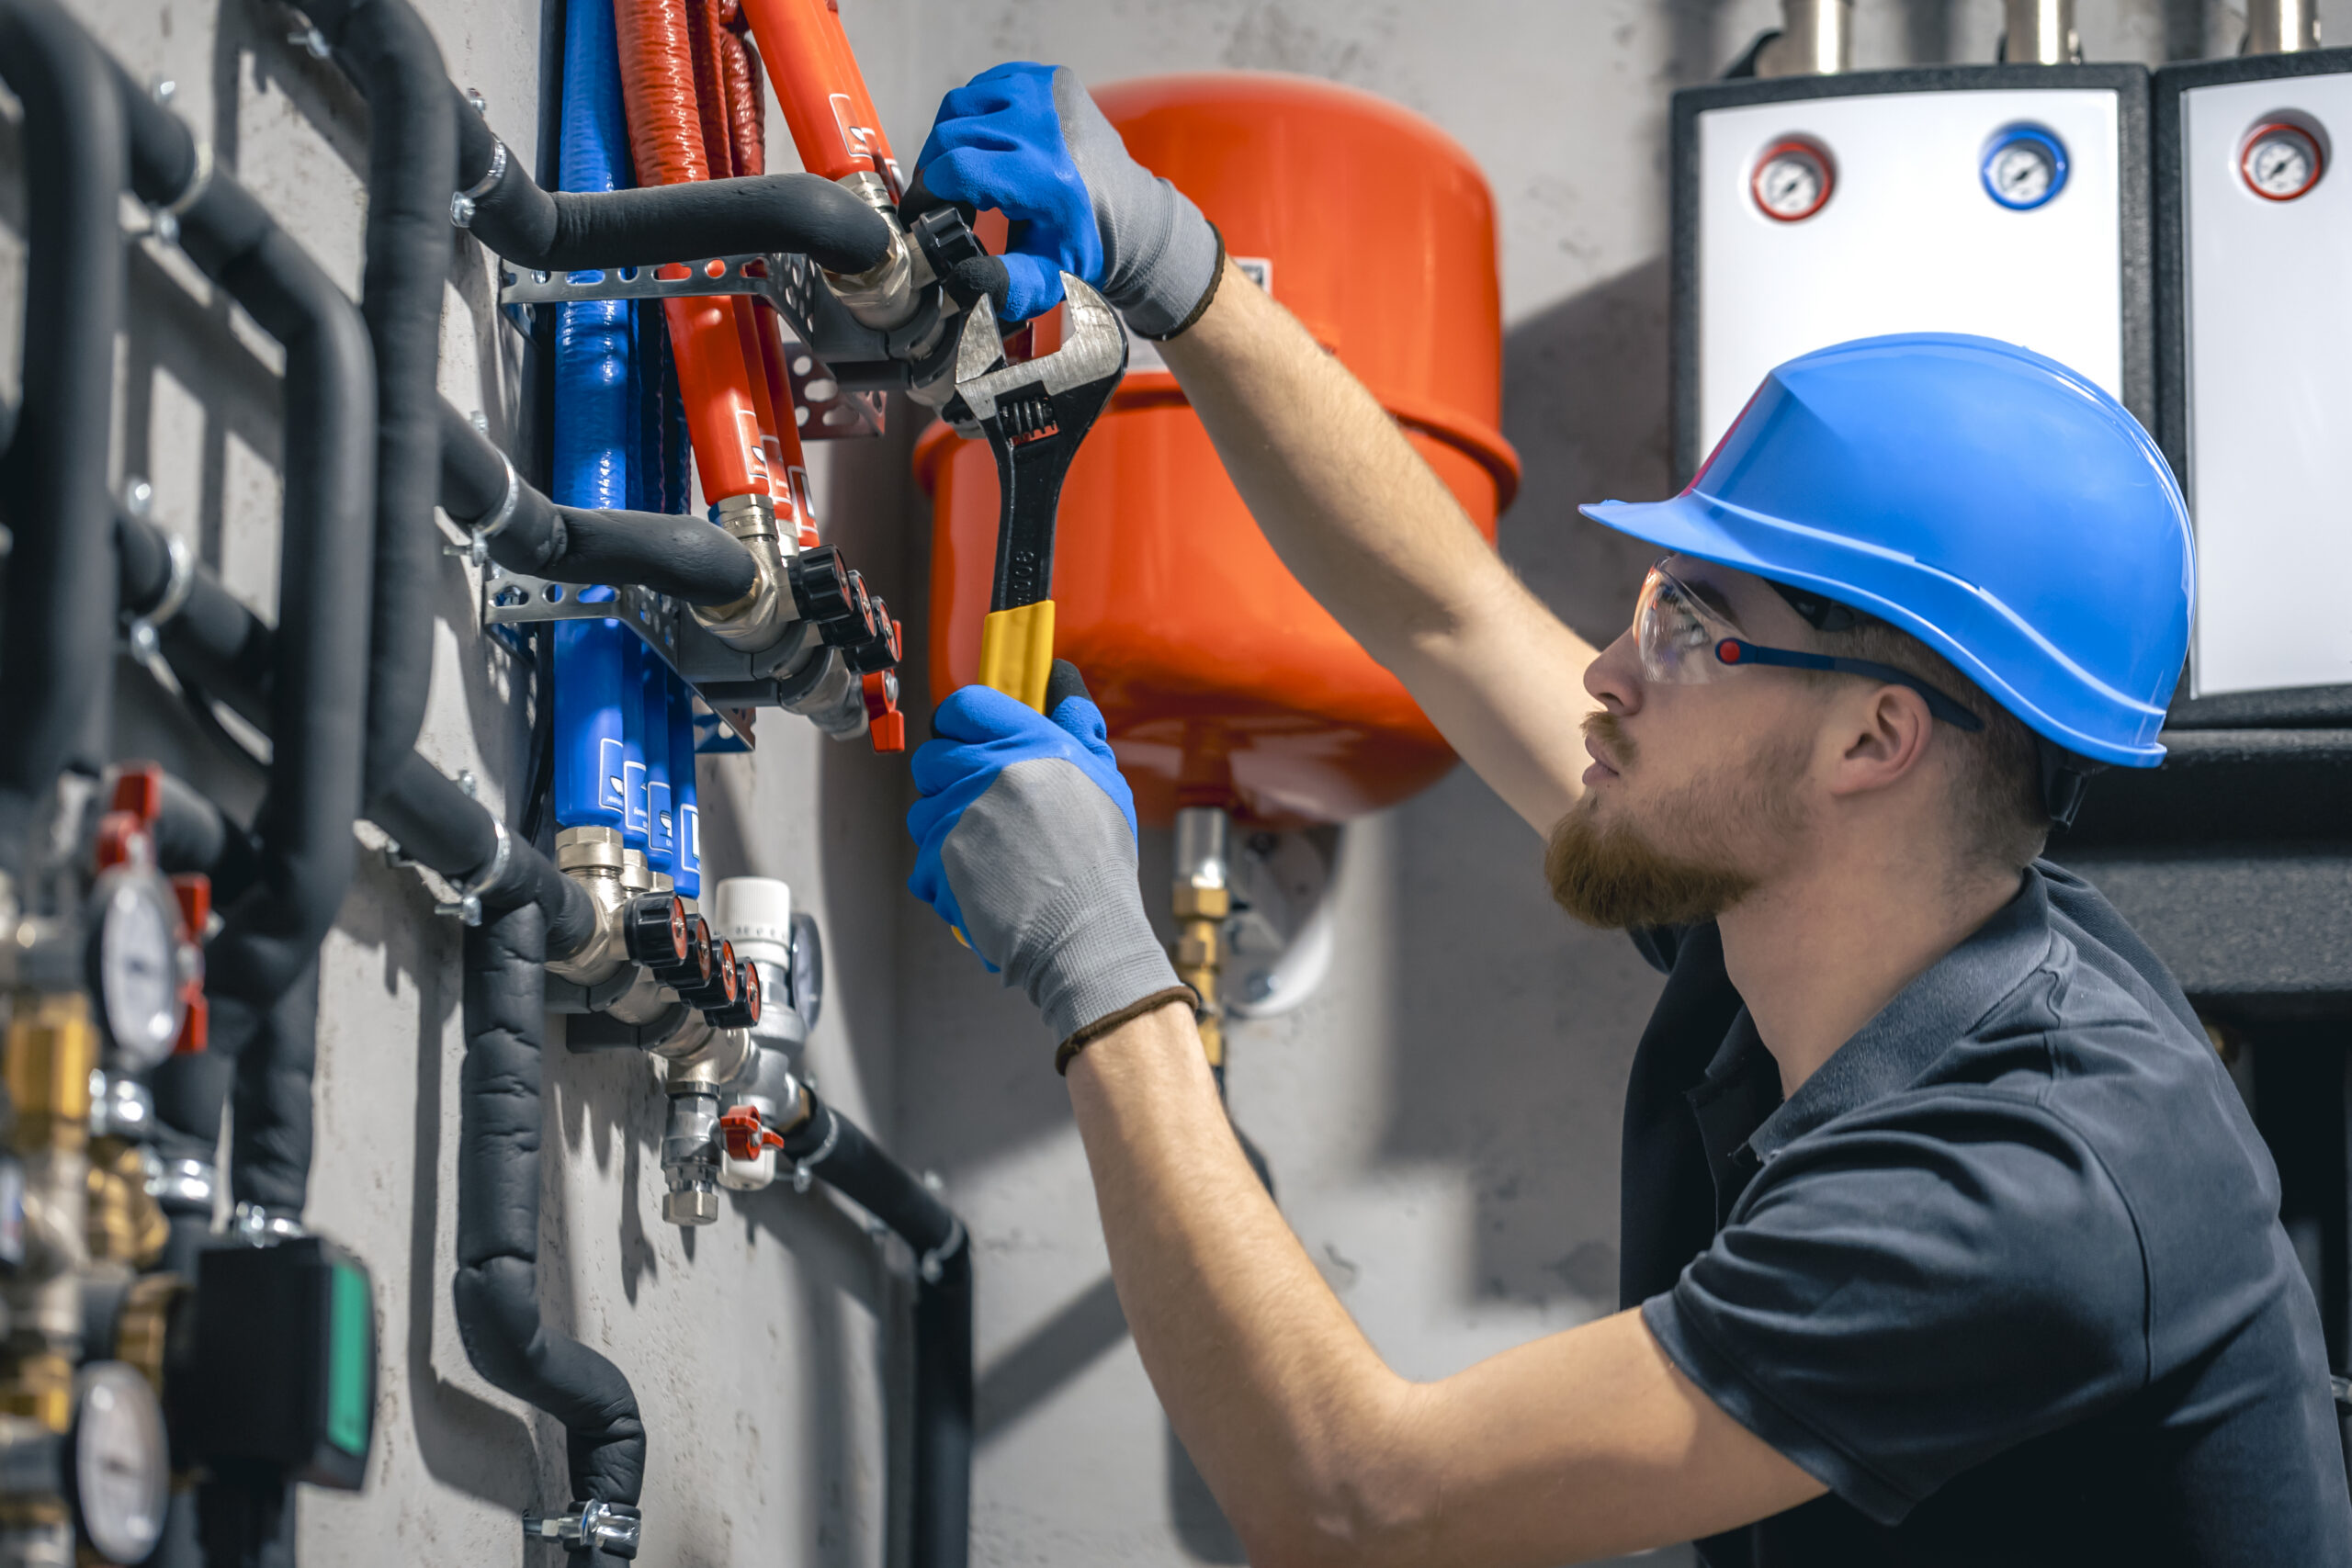
Gathering Necessary Tools and Equipment
- Personal Protective Equipment (PPE): Ensure that you equip all inspection personnel with appropriate PPE, including safety glasses, welding gloves, helmets, and protective clothing. The level of PPE may vary depending on the welding environment.
- Inspection Instruments: Assemble the inspection tools, including visual inspection aids like magnifying glasses, measuring devices, and non-destructive testing (NDT) equipment such as ultrasonic thickness gauges or radiographic equipment.
- Lighting: Adequate lighting is essential for a thorough visual inspection. Ensure the work area is well-lit to detect surface imperfections and defects effectively.
Ensuring Safety Measures Are in Place
High temperatures, electrical currents, and dangers like sparks, fumes, and radiation are all part of welding. To reduce risks, it’s important to make the workplace safe. This means ensuring no burning materials, enough airflow to remove fumes, and having fire protection tools like extinguishers and blankets handy.
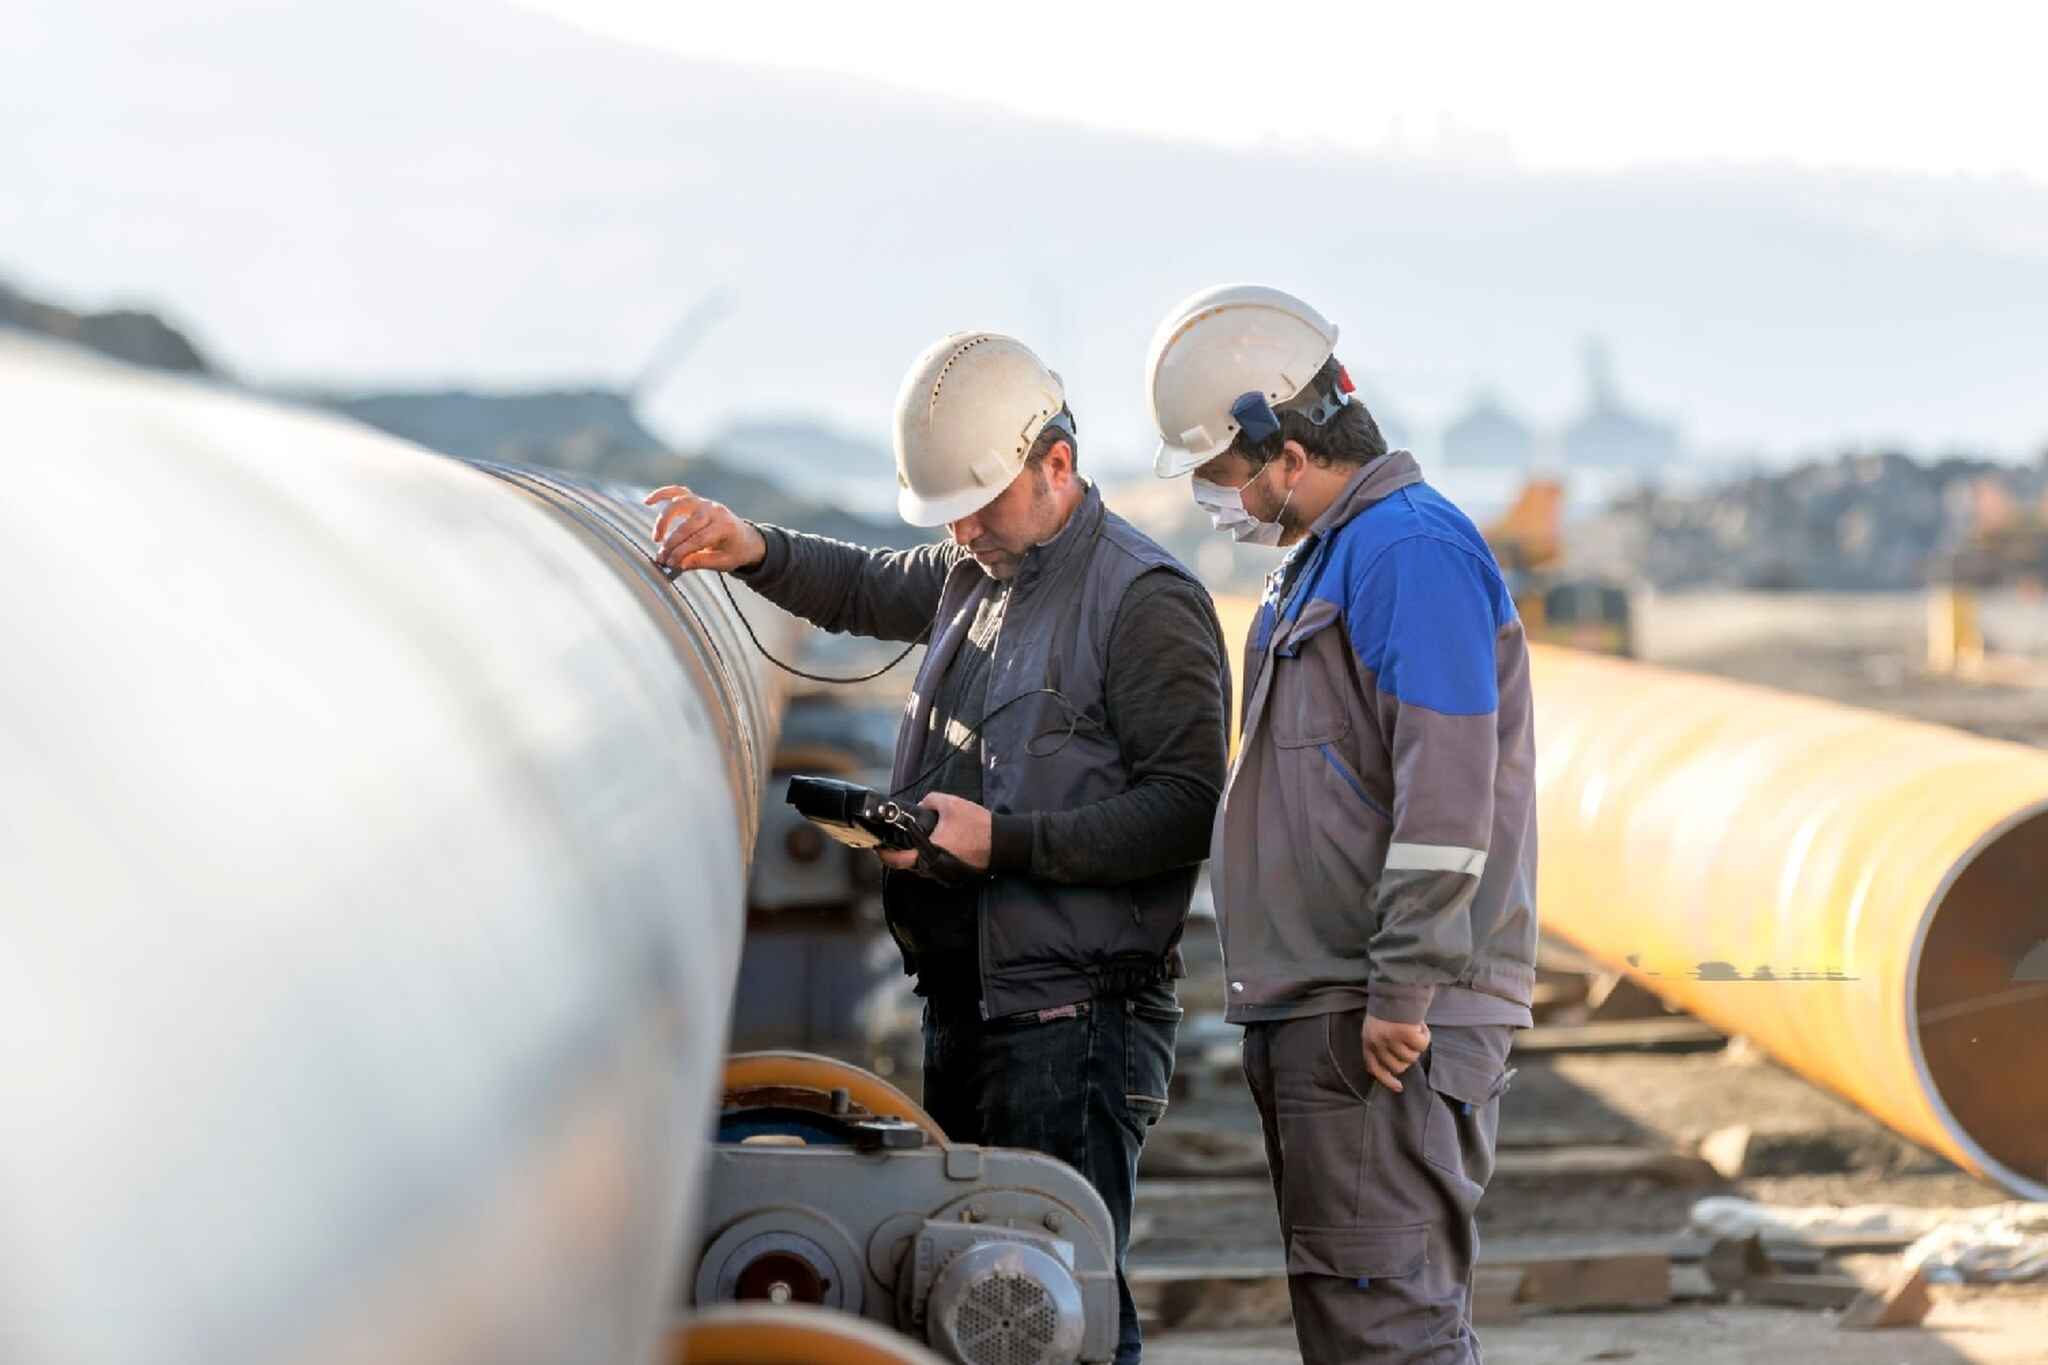
Visual Inspection
Visual inspection is the foundational step in assessing the integrity of welding joints within line pipe systems. While it might seem like a straightforward process, it is anything but simple. A trained eye can unveil a wealth of information hidden beneath the surface, helping ensure the safety and reliability of pipelines.
What To Do In Visual Inspection?
Surface Examination
The initial visual examination involves an inspection of the joint’s surface. Inspectors look for defects such as cracks, porosity, and undercutting. However, if left undetected, these flaws can weaken the joint over time and lead to catastrophic failures.
Alignment and Fit-Up
Proper alignment and fit-up are critical for a successful welding joint. Visual inspection ensures that you correctly positioned the components before welding. Misalignment or poor fit-up can cause weak joints prone to failure.
Weld Bead Appearance
The appearance of the weld bead provides valuable information about the welding process. A well-executed weld bead should exhibit uniformity, consistent penetration, and proper reinforcement. Any irregularities in the dot can show issues during welding.
Identifying Common Visual Defects
- Cracks can appear as fine lines or fissures on the joint’s surface. They weaken the joint’s structural integrity and can propagate.
- Porosity: Porosity manifests as small holes or voids within the weld. It can compromise the joint’s strength and resistance to corrosion.
- Undercutting: Undercutting is a groove or depression near the joint’s edges. It weakens the weld’s cross-section and can lead to stress concentrations.
- Incomplete Fusion occurs when the weld bead does not fully fuse with the base material. This results in weak points in the joint.
- Excessive Spatter: Spatter refers to small metal fragments expelled during welding. Excessive spatter can lead to contamination and interfere with the joint’s integrity.
Non-destructive testing (NDT)
NDT encompasses a variety of techniques and methods designed to inspect materials and welds for hidden defects, inconsistencies, or flaws without altering or destroying the specimen. These methods are non-invasive and often performed on the surface or through the thickness of the material.
For a dye penetrant test, you need to put a dye on the object and wash it off. The dye will get stuck if the cloth has flaws, making a colored pattern. This method is best for finding cracks, pits, and dents on the surface. It can also find problems like insufficient Fusion and entry.
Liquid penetrant testing uses a dye applied to a material’s surface. The dye will seep into any cracks or voids, which you can easily detect using a fluorescent light. This method inspects non-ferromagnetic materials, such as aluminum, for cracks and other defects.
Radiography uses X-rays or gamma rays to picture what is inside something. The X-rays or gamma rays will pass through the material, and any flaws will release some energy. A film or detector then captures the leftover radiation, making a picture of the inside.
Ultrasonic testing detects faults in materials by using sound waves. Any flaws in the material reflect the sound waves to the transducer. The reflected sound waves can generate a picture of the flaws. This approach is most effective for identifying surface and subsurface flaws, including fractures, voids, and inclusions. It may also determine the thickness of various materials.
Destructive Testing
Unlike Non-Destructive Testing (NDT), which evaluates materials and welds without causing damage, DT involves subjecting test specimens to controlled conditions that ultimately result in their failure.
Common Types of Destructive Testing
Tensile Testing: In tensile testing, we subject a test specimen to an axial load to determine its tensile strength, yield strength, elongation, and reduction in area. It helps assess the material’s ability to withstand stretching forces.
Bend Testing: This method evaluates a welded joint’s ductility by bending a test specimen at a specific angle until it fractures. Bend testing identifies cracks or defects on the weld’s outer surface or within the weld itself.
Charpy Impact Testing: Charpy impact testing measures a material’s resistance to fracture under impact loading. This test is important in assessing the toughness and brittleness of welds, especially in applications subject to sudden impacts.
Hardness Testing: Hardness testing measures the material’s resistance to indentation or penetration. It provides information about the material’s strength, heat-affected zone (HAZ), and weld metal hardness, which is essential for assessing weld quality.
How LPS Technology Helps To Improve Welding Joints?
At the Lined Pipe System, we have two unique technologies, SealSleeve and FlexSleeve, that help improve the Pipeline system’s welding joints with coating.
FlexSleeve®: It protects the weld zone of a steel pipe with a thin interior coating most straightforwardly and practically possible. There are variations of FlexSleeve® for butt-weld joints and bell & spigot joints.
SealSleeve®: The welded joint construction is the quickest for steel pipe with thermoplastic (i.e., HDPE) pull-through liners. This technology protects the plastic in the weld zone from the heat generated by the welding process.
Final Words
Welding inspection is not just about identifying defects; it’s about preventing them. Regular maintenance, adherence to codes and standards, and continuous training for welders all play a pivotal role in achieving high-quality, reliable welding joints. Well, we hope now you may get your answer to the query “How to Inspect Welding Joints?”
At Lined Pipe Systems, we take pride in our expertise in welding and offer a range of solutions and services to meet your needs. Whether you require inspection services, specialized equipment, or guidance on welding best practices, we are here to assist you. Don’t hesitate to explore our website for more information and resources.